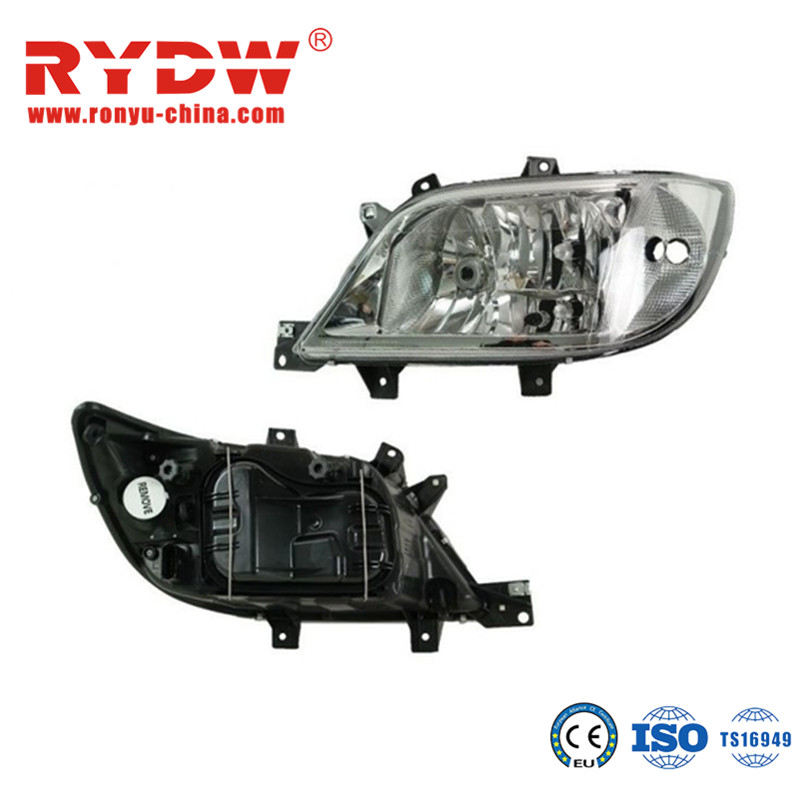
Our Professional Technicians Do Heavy Research And Development In Testing Car Applications And Fitments For Our Products.
We Make Sure When The Product Arrives At The Consumers End That It’s Ready To Go Without Worries.
Exact OEM Dimensions Make The Units Are Absolutely Full-Sealed. Superior Material And Same Manufacturing Processes Make The Lens And Housings Waterproof, Dustproof, Corrosion Resistant.
Importance of Headlight Safety:
Maintaining Your Vehicle’s Headlights Is Crucial To Your Safety On The Road, As Well As The Safety Of Others, Particularly In Inclement Weather Or During The Evening.
Your Headlights Allow Others To See You And Increase Your Visibility In Environments That Are Less Than Ideal, So It Is Vital For You To Properly Maintain Them. Get Your Headlights Checked To Make Sure They Are Truly Helping And Not Presenting Any Unnecessary Risks.
It Is Recommended That Headlights Are Aimed At Least Once a Year, Since Their Adjustments May Change Over Time Due To Any Number Of Factors.
Installation Guidance:
Step 1: According To The Year/Make/Model Of Your Vehicle, Choose a Suitable Vehicle Manual To Find Out Which Parts Need To Be Removed To Loosen The Wire And Clip Connections On The Headlight Assembly. Generally, The Front Grill Needs To Be Removed In Most Of Vehicles, The First Thing You Need To Do Is To Choose The Right Sockets Or Other Tools To Undo The Screws.
Step 2: Use Suitable Tools, Such As Flat-Blade Or Screwdriver, To Undo The Screws, Clips And Retainer Springs On The Headlights. You Can Find These Parts At The Top And The Bottom Of The Headlight. Undo Them Carefully. Be Caution To Keep All The Screws And Clips. Do Not Miss Any Of Them. And Be Careful Don't Break Any Parts.
Step 3: Disconnect The Wiring. Detach The Headlight And Take It Out. Place The New Headlight Assembly At The Right Position.
Step 4: Seal The Screws,Clips And Retainer You Undid In Step Two. Make Sure Each Of Them Are Sealed At The Right Place And Sealed Tightly. .
Step 5: Reconnect The Wiring To The New Headlight Assembly.
Step 6: Fix Up The Front Grill And Keep Them In The Original Place With The Original Parts On.
Step 7: Turn On The Headlight To Test The New Assembly. Make Some Adjustments If The New Assembly Is Not Entirely In Its Original Position.

Please tell me what products you need,
I will contact you as soon as possible to give you a quote.